VSPACE image tools
AI Image Editor
Upload an image and describe what you want to change. Request object, background, lighting or color edits, then review and refine the result.
Start with an existing image. Sign in to upload and edit; generation uses credits based on the model and settings.
Find a starting point for your next edit
Explore a visual direction for your next project. These images illustrate creative possibilities; they are not input-and-output comparisons.
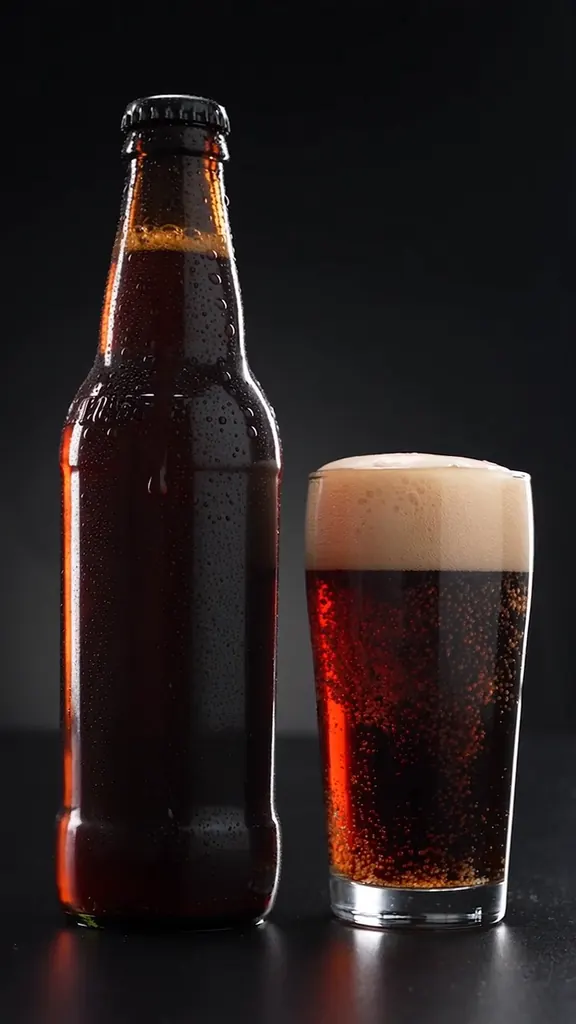
Light and color
Use a product still life to plan changes in warmth, brightness or atmosphere. Describe the treatment you want and check reflections and shadows after editing.
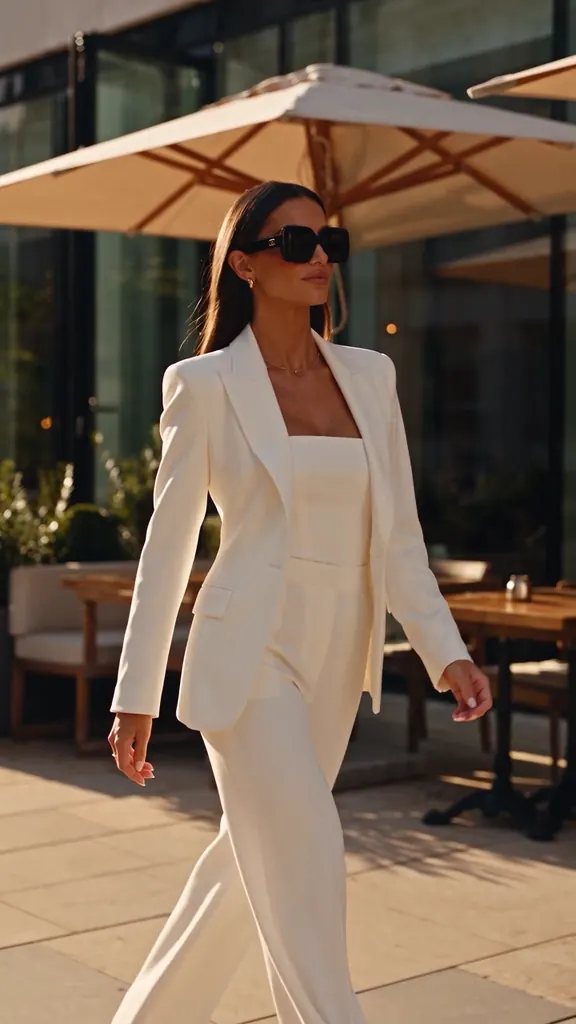
Objects and backgrounds
Describe a distracting object to remove or a background to revise. Name its location and the intended replacement so the request has a clear scope.
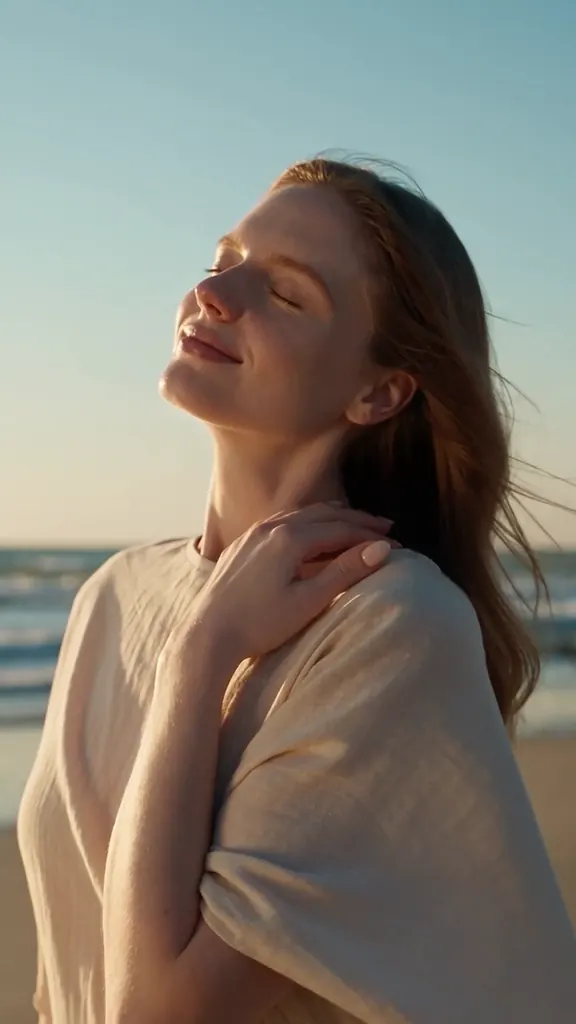
Portrait details
Request a focused adjustment to the surroundings, wardrobe or lighting. Compare the face, hair and other important features with the original before saving.
How to edit an image with a prompt
Upload the source image
Choose the clearest available original. Make sure the area you want to change is visible, and check the selected model's accepted input formats.
Describe a focused change
Name the object or area, describe the target result and state what you want to keep. Start with one clear edit before combining several changes.
Review and refine
Generate the edited image and compare it with the original. Check both the requested change and surrounding details, then download or adjust the instruction.
Tell the editor what to change and what to keep
Replace a vague request such as “make it better” with an identifiable area and a concrete result. Text instructions guide the model; they do not guarantee pixel-level preservation.
- Identify the edit
- Name the object and its location, such as the small item beside the bottle. Describe what should appear in that space after the change.
- State the important details
- Mention the face, product shape, lettering or composition you want to preserve. Inspect these details even when your instruction asks to keep them.
- Compare at full size
- Check edges, textures, shadows and text. If several details drift, return to the original and try a narrower instruction instead of repeatedly editing an altered result.
Choose an available image model
Explore models that support this task. Reference limits, output sizes and credit costs depend on the selected model. Confirm the settings in the tool before generating.
Questions about AI image editing
You can describe object removals, replacements, background changes and adjustments to lighting or color. Results and supported operations depend on the selected model and source image.
Name the object, its position and the intended result. Also explain which surrounding details matter. A text request guides the model but does not guarantee that every other pixel remains unchanged.
Not necessarily. A generated edit may alter nearby details or texture. Compare the entire result with the original, especially faces, lettering, product geometry and fine edges.
Ask to preserve it and inspect the result closely. Models can change lettering and symbols. For exact brand artwork, you may need to restore approved artwork in a separate finishing step.
The selected model and output settings determine the result dimensions. Check available sizes before generating and confirm the downloaded file meets your requirements.
This workflow starts with a picture and a requested edit. Image-to-image focuses on developing a new picture guided by references. Both can change details, so choose based on your starting material and goal.
Make your next image edit specific
Upload an original, describe one clear change and inspect the result. Keep refining until it fits your brief.
Edit an image